 "
"
Team:Montgomery Cougars NJUSA/Project/Labs
From 2014hs.igem.org
(→Materials) |
(→Our Experiences) |
||
| Line 230: | Line 230: | ||
===Our Experiences=== | ===Our Experiences=== | ||
| - | + | Our transformation procedure differed from the one listed on the registry. Due to our limited time, we opted to do only the absolutely necessary steps and combined practices seen from the pGLO lab. We did not include the RFP control or use antibiotics on our plates. The last time we used antibiotics, our parts failed to grow so we decided to run the risk of overgrowth versus nothing at all. Additionally, since we had extra ligated DNA, We inoculated 4 tubes of competent cells and plated all of them. We could not figure out why the experiment called for 20 and 200 microliters to plate so we plated all at 20. | |
{{Montgomery_Cougars_NJUSA/Layout_End:Two_Column}} | {{Montgomery_Cougars_NJUSA/Layout_End:Two_Column}} | ||
Revision as of 17:25, 20 June 2014
Labs
Contents |
-
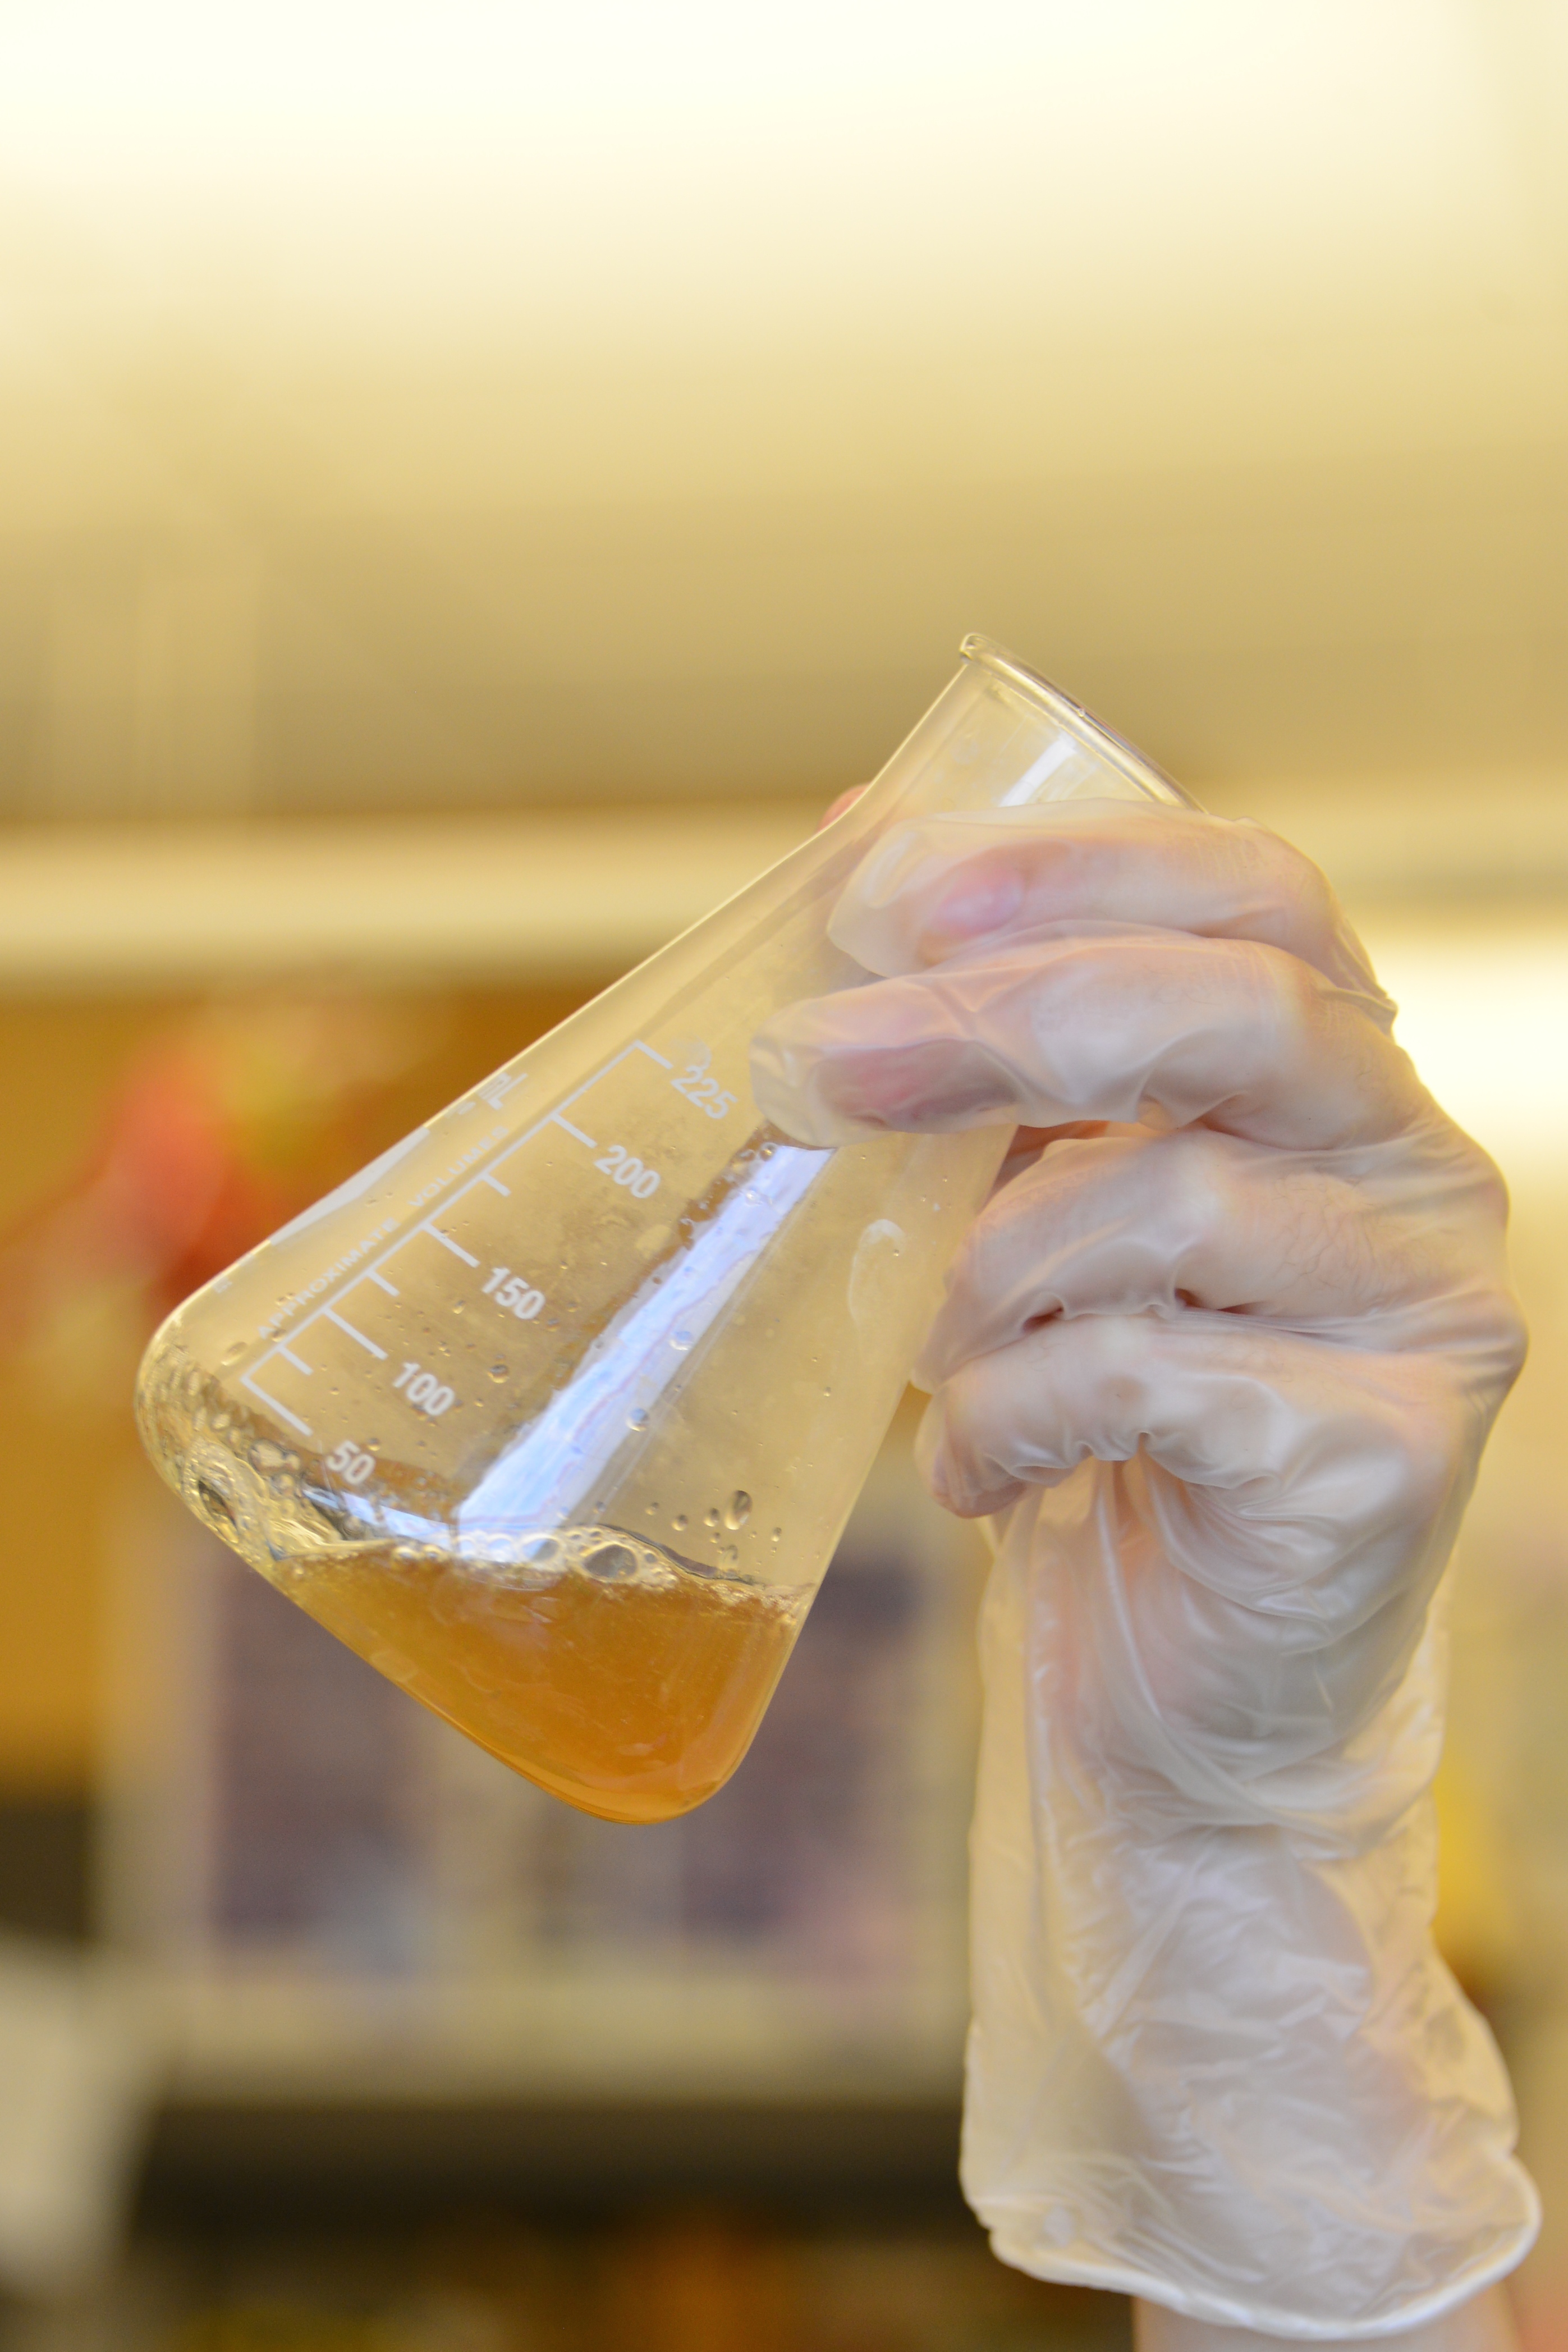 An iGEM member holding a beaker
-
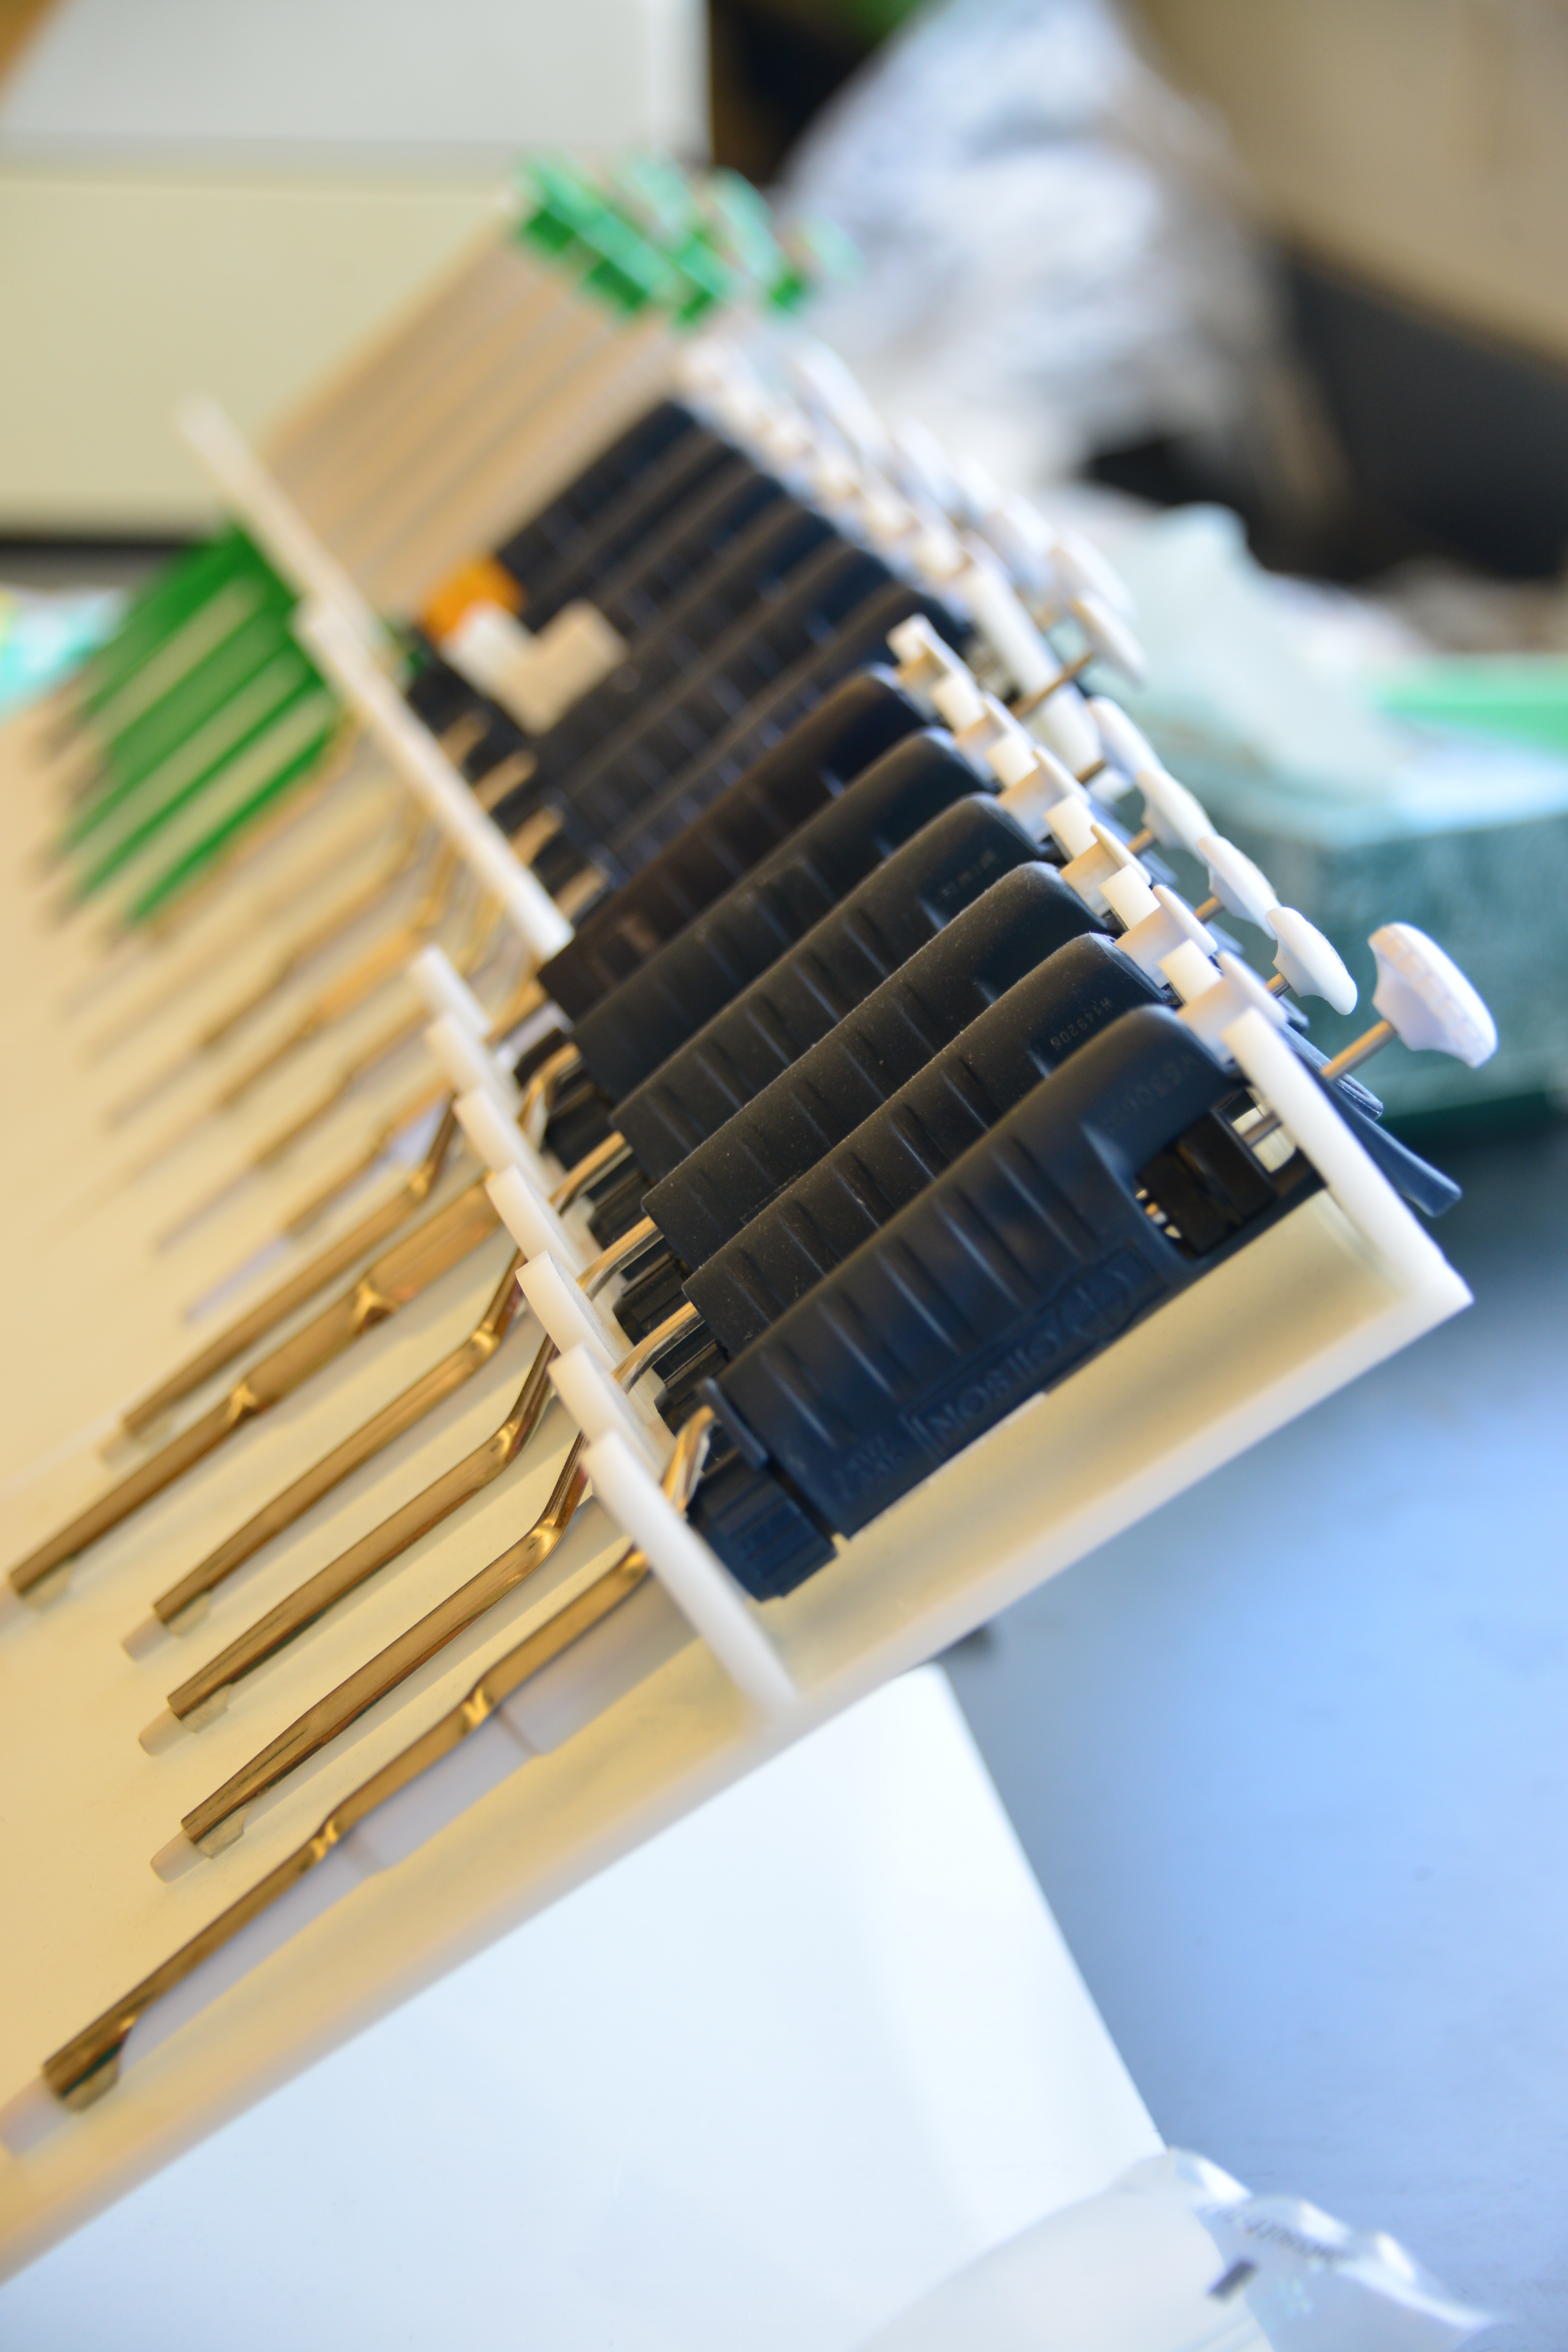 Micropipettes
-
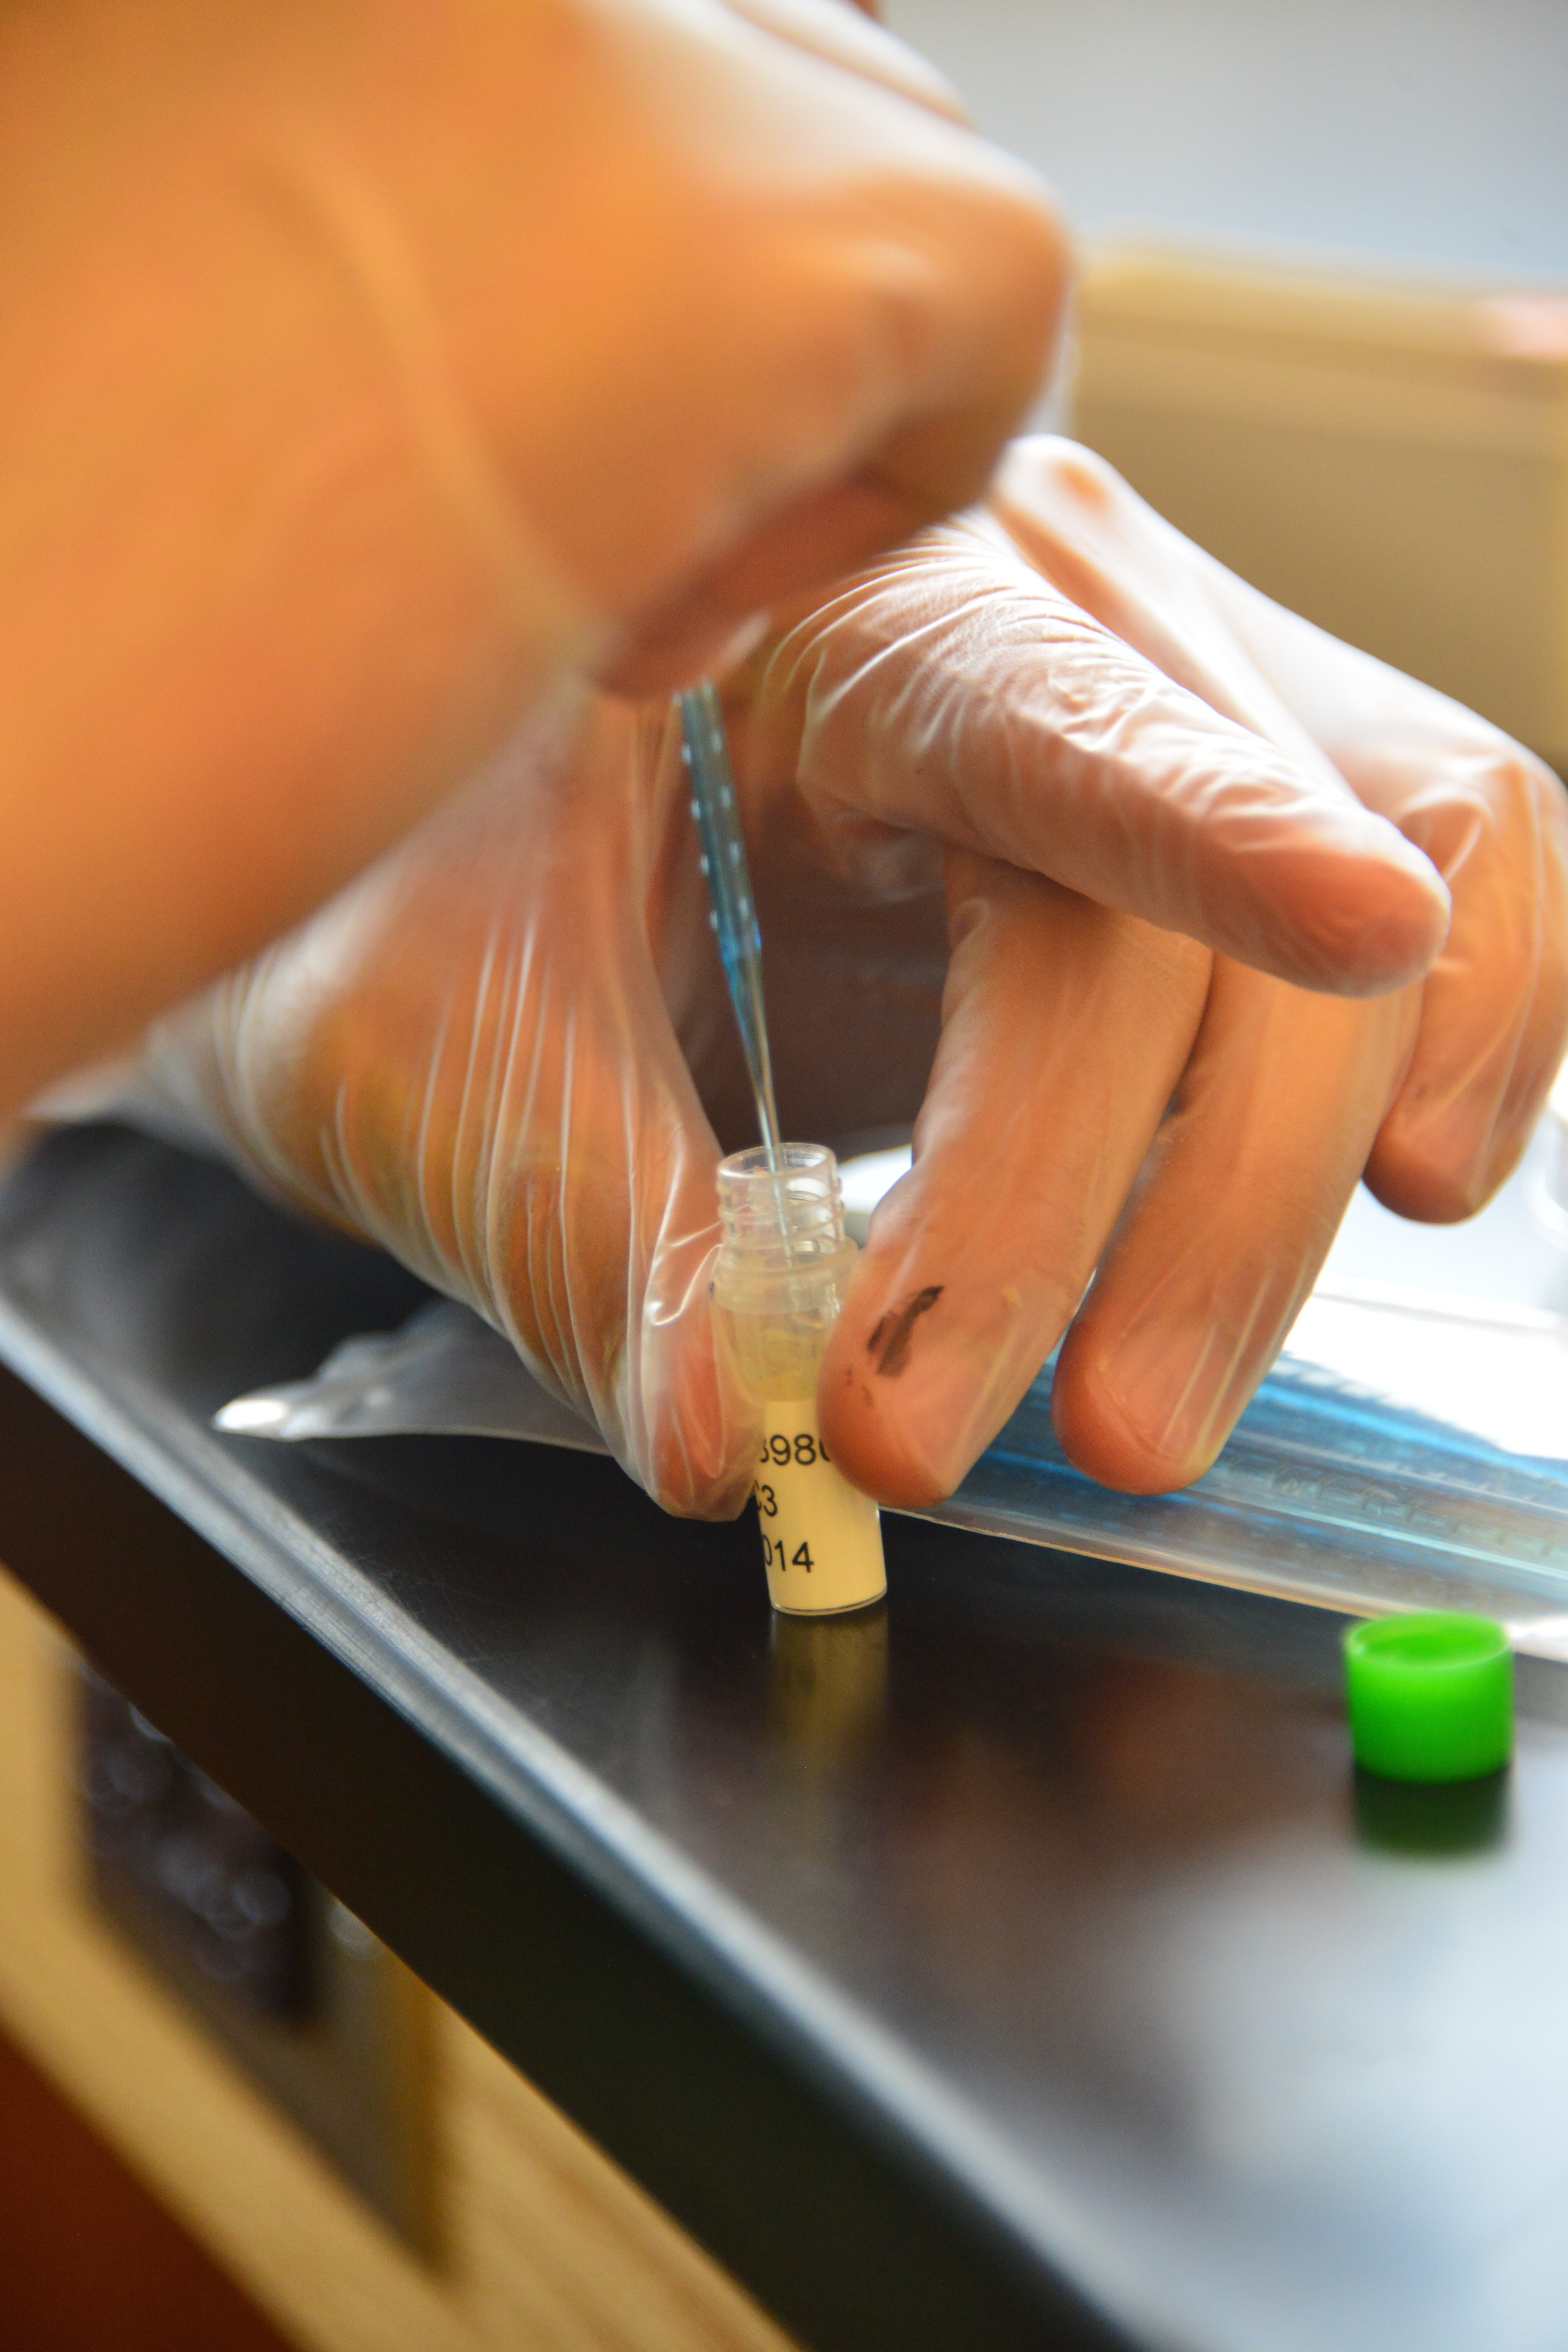 Streaking a cell culture
Growing Cultures
Materials
- Agar Stab for Promotor BBa_R0010
- Agar Stab for RBS BBa_B0034
- Agar Stab for Protein Coding Domains BBa_K398006 and BBa_K398005
- Agar Stab for GFP BBa_E0040
- Agar Stab for Terminator BBa_B0015
- Inoculating Tubes
- LB Agar Plates
- Marker
- Inoculating Loops
- Snap Cap Tubes
- LB Broth
Procedure (Streaking Agar Plates)
- Clean the table and clear a lab space to have a contaminant-free culture
- Label each of the 4 plates with the appropriate part name, in this case, BBa_B0034, BBa_K398005, BBa_K398006, and BBa_E0040
- Use the inoculating loop to take a sample from each of the 4 agar stabs where the hole is visible
- Streak the loop with the bacteria sample onto the agar plate in zigzags, and once again 90 degrees rotated
- Repeat these steps for all 4 parts onto different agar plates
- Tape plates together and turn upside down so as to avoid condensation contamination
- Store in incubator at 37 degrees Celsius for 14-16 hours
- Agar plates, once incubated, can be stored in the fridge
Procedure (Growing Up Cultures)
- Clean table and clear a lab space to have a contaminant-free culture
- Take out the 4 plated agar samples from the incubator, there should be significant growth
- Using a pipette, put 5ml of LB nutrient broth into 4 snap tubes
- Use an inoculating loop to take colonies from each agar plate and swirl into a tube
- Close tubes and incubate for 14-16 hours
Our Experiences
This part of the lab really the first time since our run-through pGLO lab that students had a chance to have first hand practice. During the Agar Streaking procedure, we encountered a significant setback to our already tight schedule. We had looked at the protocol for the 3A assembly kit, since parts were analogous, and streaked the bacteria onto Ampicillin/Kanamycin plates that were provided for us. We did not think that the parts we had ordered did not necessarily have this resistance. So, we waited a full day to find that there was absolutely no growth. Thus, we had to repeat this all again on plain LB Agar.
For growing up the cultures, although we completed the procedure correctly, we actually did not end up using these cultures for our experiment. The one day waiting period was simply too long for our tight schedule. Our students talked with our advisor and we determined that the bacteria on the agar plate should be just as good as those that would grow within the next day. So, all of of subsequent experimental data comes from the growth on the original agar plates.
Miniprep
Materials
- Qiagen Miniprep Kit
- Cell Culture
- 1.6 ml Microcentrifuge tubes (2 per a miniprep)
- TE (1:10)
Procedure
- We opted not to use our grownup cell cultures. So we inoculated LB broth with the 4 respective parts and spun that culture in a centrifuge to pellet the cells, emptying the supernatant when complete
- Resuspend pelleted bacterial cells (all 4 samples) in 250 µl Buffer P1 and transfer to a microcentrifuge tube (we used just regular ones to accommodate our centrifuge)
- Add 250 μl Buffer P2 to the solution and gently mix. This allows for the lysis process to occur
- Add 350 μl Buffer N3 to each sample and gently mix.
- Centrifuge for 10 min at 13,000 rpm (~17,900 x g). In the end, a white pellet formed in each of the 4 samples we were miniprepping.
- Apply supernatants from step 4 to the QIAprep spin column by pipetting.
- Centrifuge for 30–60 and discard all the flow-through.
- Wash QIAprep spin column by adding 0.75 ml Buffer PE and centrifuging for 30–60 s.
- Discard the flow-through, and centrifuge for an additional 1 min to remove residual wash buffer.
- Place the QIAprep column in a clean 1.5 ml microcentrifuge tube. To elute DNA, add 50 μl Buffer EB (10 mM Tris·Cl, pH 8.5) or water to the center of each QIAprep spin column, let stand for 1 min, and centrifuge for 1 min.
Our Experiences
While we did not encounter many problems with this step directly, we did not use the standard cell cultures that were supposed to be used. We instead substituted for a faster mechanism which we did not see as significantly different. Due to our spin tube deficiency, we were forced to scale down our volumes to 1/10th their original values but kept all the proportions the same. In the end, we just ended up making very little of the purified DNA for the restriction digestion and ligation processes. We hope that our last-minute substitution plans do not interfere with the outcomes of our lab
Restriction Digest
Materials
- Ice and bucket/container
- (1) 8-tube strip, or (3) 0.6ml thin-walled tubes
- Promoter (BBa_R0010) (Purified DNA, > 16ng/ul)
- RBS (BBa_B0034) (Purified DNA, > 16ng/ul)
- Med-Chain Aldehyde Dehydrogenase (BBa_K398006)(Purified DNA, > 16ng/ul)
- Med-Chain Alcohol Dehydrogenase (BBa_K398005) (Purified DNA, > 16ng/ul)
- GFP (BBa_E0040)(Purified DNA, > 16ng/ul)
- Terminator (BBa_B0015) (Purified DNA, > 16ng/ul)
- Linearized plasmid backbone (pSB1C3)(25ng/ul)
- dH2O
- NEB Buffer 2
- BSA
- Restriction Enzymes: EcoRI, SpeI, XbaI, PstI
- Thermal cycler
Procedure
- Keep all enzymes and buffers used on ice.
- Thaw NEB Buffer 2 and BSA in room temperature water. Mix by shaking the tubes, and flick/spin them to collect the liquid at the bottom of the tube.
- Add 250ng of DNA to the appropriately labelled tube. Add distilled water to the tubes for a total volume of 16ul in each tube. [Calculation example (with 25ng/ul as DNA sample concentration): 250ng ÷ 25ng/ul = 10ul of DNA sample 16ul (total volume) – 10ul (DNA sample) = 6ul of distilled water]
- Pipet 2.5ul of NEB Buffer 2 to each tube.
- Pipet 0.5ul of BSA to each tube.
- In the Part A tube: Add 0.5ul of EcoRI, and 0.5ul of SpeI.
- In the Part B tube: Add 0.5ul of XbaI, and 0.5ul of PstI.
- In the pSB1C3 tube: Add 0.5ul of EcoRI, 0.5ul of PstI, and 0.5ul of Dpn1.
- The total volume in each tube should be approximately 20ul. Mix well by pipetting slowly up and down. Spin the samples briefly to collect all of the mixture to the bottom of the tube.
- Incubate the restriction digests at 37°C for 30 minutes, then 80°C for 20 minutes. We use a thermal cycler with a heated lid.
- (Optional, but recommended) Run a portion of the digest on a gel (8ul, 100ng), to check that both plasmid backbone and part length are accurate.
- Use ~2ul of the digest (25ng of DNA) for ligations.
| Part A | Part B | Linearized Plasmid Backbone | |
|---|---|---|---|
| DNA | 250ng | 250ng | 250ng (10ul @ 25ng/ul) |
| dH2O | adjust to 16ul | adjust to 16ul | 16ul |
| NEB Buffer 2 | 2.5ul | 2.5ul | 2.5ul |
| NEB Buffer 2 | 0.5ul | 0.5ul | 0.5ul |
| Enzyme 1 | 0.5ul EcoRI | 0.5ul xBa1 | 0.5ul EcoRI |
| Enzyme 2 | 0.5ul SpeI | 0.5ul PstI | 0.5ul Pst1 |
| Enzyme 3 | 0.5ul DpnI |
Single Reaction:
- Add 250ng of DNA to be digested, and adjust with dH20 for a total volume of 16ul.
- Add 2.5ul of NEBuffer 2.
- Add 0.5ul of BSA.
- Add 0.5ul of EcoRI.
- Add 0.5ul of PstI.
- There should be a total volume of 20ul. Mix well and spin down briefly.
- Incubate the restriction digest at 37C for 30min, and then 80C for 20min to heat kill the enzymes. We incubate in a thermal cycler with a heated lid
- Run a portion of the digest on a gel (8ul, 100ng), to check that both plasmid backbone and part length are accurate.
Our Experience
Ligation
Materials
Procedure
- Add 2ul of digested plasmid backbone (25 ng)
- Add equimolar amount of EcoRI-HF SpeI digested fragment (< 3 ul)
- Add equimolar amount of XbaI PstI digested fragment (< 3 ul)
- Add 1 ul T4 DNA ligase buffer. Note: Do not use quick ligase
- Add 0.5 ul T4 DNA ligase
- Add water to 10 ul
- Ligate 16C/30 min, heat kill 80C/20 min
- Transform with 1-2 ul of product
Our Experience
Transformation
Materials
- Resuspended DNA
- Competent Cells
- Ice
- 2ml tube
- 42ºC water bath
- SOC media
- Agar Plates
- Glass beads
- 37ºC incubator
Procedure
- Add 50 µL of thawed competent cells into pre-chilled 2ml tube. We did not make these but rather took them from the BIORAD pGLO lab kit
- Add 1.5 µL of the resuspended DNA to the 2ml tube. Aspirate to mix, keeping the competent cells on ice.
- Close tubes and incubate the cells on ice for 30 minutes.
- Heat shock the cells by immersion in a pre-heated water bath at 42ºC for 60 seconds.
- Incubate the cells on ice for 5 minutes.
- Add 200 μl of SOC media
- Incubate the cells at 37ºC for 2 hours
- Label two petri dishes with LB agar.
- Plate 20 µl and 200 µl of the transformation onto the dishes, and spread with glass beads
- Incubate the plates at 37ºC for 12-14 hours, making sure the agar side of the plate is up.
Our Experiences
Our transformation procedure differed from the one listed on the registry. Due to our limited time, we opted to do only the absolutely necessary steps and combined practices seen from the pGLO lab. We did not include the RFP control or use antibiotics on our plates. The last time we used antibiotics, our parts failed to grow so we decided to run the risk of overgrowth versus nothing at all. Additionally, since we had extra ligated DNA, We inoculated 4 tubes of competent cells and plated all of them. We could not figure out why the experiment called for 20 and 200 microliters to plate so we plated all at 20.